
Installation Guide for Beilite Hydraulic Hammers
Excavator Accessories Guide
Home » Hydraulic Hammers » Beilite Hydraulic Breaker Installation
Beilite Hydraulic Hammer Installation Guide
Beilite hydraulic breakers are designed for maximum impact power, reliable performance and long service life when installed and used correctly. Correct installation on excavators, loaders, track loaders or other carriers is critical to achieve optimal productivity, reduce downtime and ensure long-term operational reliability. Matching the hydraulic flow of the breakers to the characteristics of the carrier is essential for safe and efficient use.
This manual provides clear, step-by-step instructions, best practices, safety protocols and maintenance tips to ensure correct installation and sustainable peak performance throughout the service life of your Beilite hydraulic breaker.
- Hydraulic Breaker Body
- Hydraulic Breaker Head
- Bracket Bolts
- Stop Valve
- Hydraulic Breaker Oil Pipeline
- Multidirectional Valve
- Over Pressure Valve
- Hydraulic Oil Tank
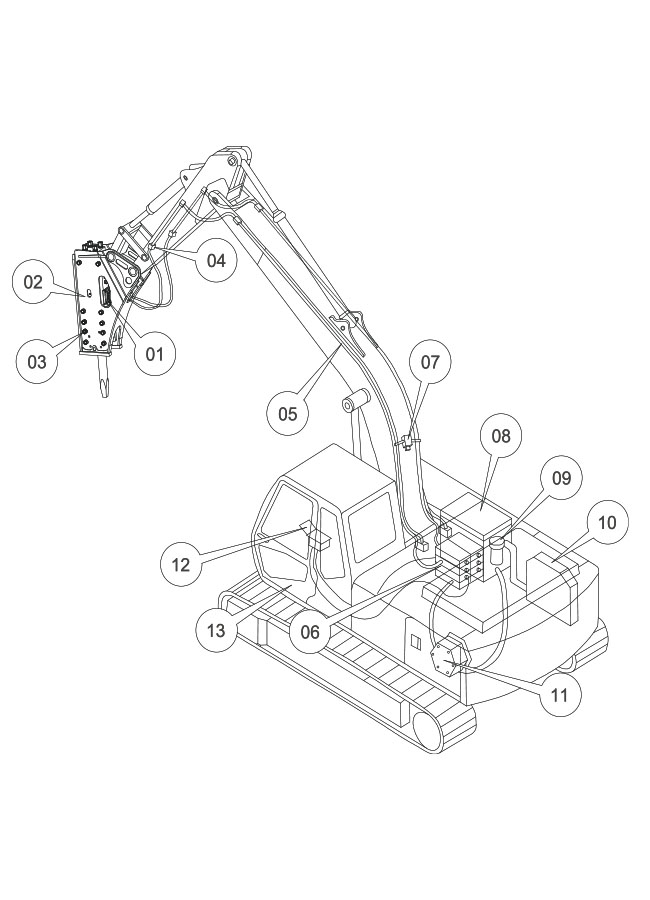
Installation Status
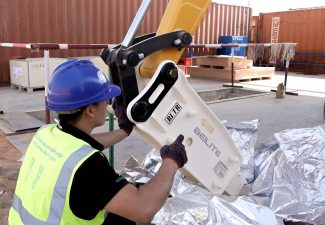
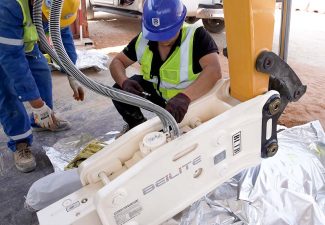
Why Correct Installation of Hydraulic Breakers is Critical for Long Life
Improper installation can lead to performance degradation, hydraulic leaks, premature wear and safety risks. Beilite recommends following this manual and consulting trained technicians to resolve any uncertainties. Proper installation ensures optimal performance and long-term reliability.
Benefits of Correct Hydraulic Breaker Installation:
✅ Maximum Impact Performance: Efficient energy transfer for faster and more efficient operations.
✅ Minimum Vibration and Wear: Increases durability by reducing stress on the carrier equipment.
✅ Long Component Lifetime: Reduces maintenance for long-lasting performance.
✅ Enhanced Operational Safety: Provides a safe working environment by minimizing accident risks.
✅ Consistent Efficiency: It guarantees reliable operation, ensuring productivity on every job.

Equipment and Tools Required for Hydraulic Breaker Installation
Before starting the installation process, make sure you have the following equipment and tools:
Hydraulic Breaker Mounting Bracket: Choose the right type of mounting bracket (side-mounted, top-mounted, silent type or quick coupling) according to your crusher and conveyor specifications.
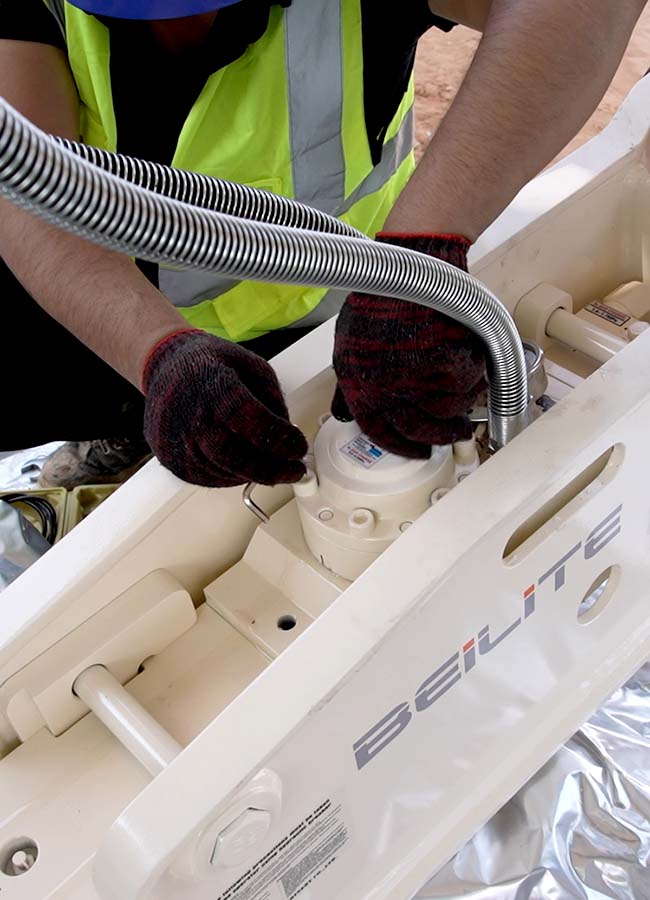
Hydraulic Hoses and Accessories: Check that the system is compatible with the hydraulic flow and pressure, thus ensuring efficient operation.
Torque Wrench and Socket Set: It is necessary for the correct fixing of the components, make sure that all bolts are tightened to the correct specifications.
Hydraulic Oil Use the recommended oil type and viscosity to ensure optimal performance for your transporter's hydraulic system.
Lubricating Oil and Grease: It is necessary to ensure smooth movement of moving parts, minimize friction and prevent premature wear.
Safety Equipment: Use appropriate safety equipment to protect yourself during installation, which should include a helmet, gloves and safety glasses.
Installation Guide or Model-Specific Guide: Always refer to the manual provided, follow the correct installation steps and install according to your model.
Using the right tools and materials not only ensures a smooth installation process, but also optimizes the long-term performance and reliability of your Beilite hydraulic breaker.

Step-by-Step Installation Process
- Position the Carrier: Park on a level and firm surface; turn off the engine.
- Release Hydraulic Pressure: Release the hydraulic pressure before connecting the lines.
- Verify Hydraulic System Compatibility: Make sure you provide the right flow rate and pressure for optimal performance.
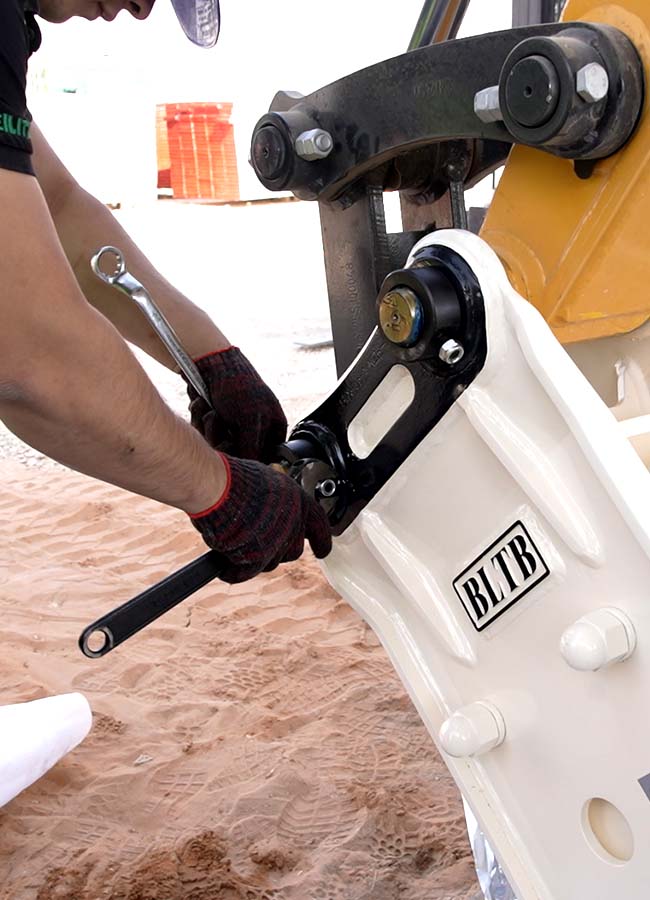
- Select and Install: Select the correct bracket (side, top or quick connect) and fix it to the arms.
- Tighten the bolts according to the specified torque: Use a torque wrench to tighten the bolts according to Beilite's recommended specifications.
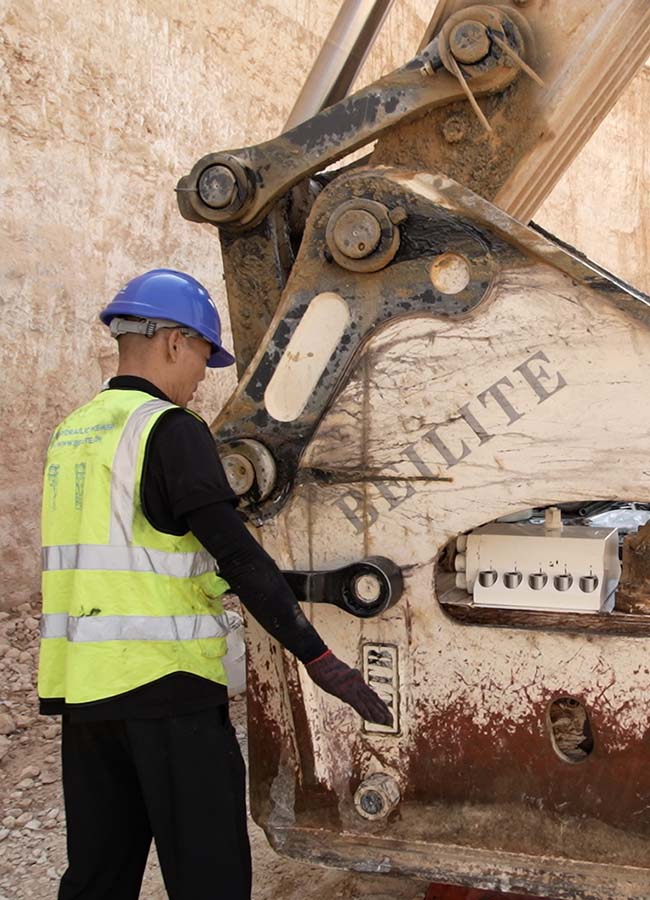
- Verify Bracket Alignment and Stability: Check the alignment and stability of the bracket to ensure safe and efficient operation.
- Position: Align the breaker under the mounting bracket, make sure it is ready for connection.
- Use Lifting Equipment: For heavier models, use suitable lifting tools to avoid excessive strain.
- Align the Pin Holes: Align the carrier pin holes with the bracket holes in the breaker to ensure correct fit.
- Insert and Fix the Pins: Insert the pins into the aligned holes, then secure them securely with locking clips.
- Route Hydraulic Hoses: Avoid kinks, twists or obstacles when routing hoses.
Choose High Pressure Accessories: Use high-quality accessories that comply with the system's specifications. - Connect Inlet and Return Lines: Make sure you provide correct routing and avoid cross-links.
- Tighten Accessories: Tighten accessories with a torque wrench to prevent leaks.
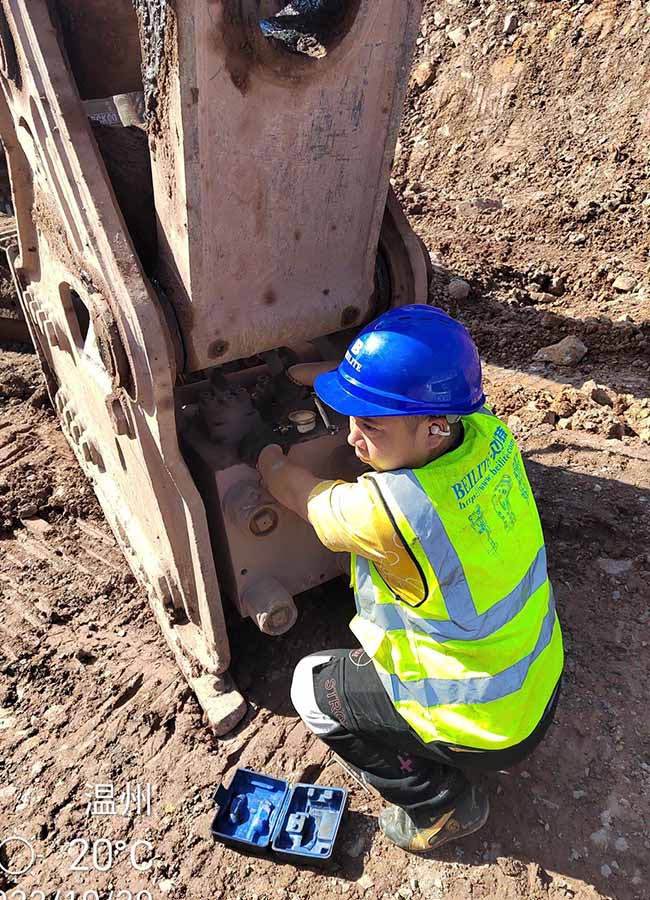
- Check Hydraulic Oil: Make sure the oil is clean, free of contaminants and at the correct level.
- Confirm Oil Compatibility: Ensure efficient operation by comparing the oil viscosity with Beilite's specifications.
- Monitor and Change Filters: Check filters for wear, clogging or contamination and replace as necessary.
- Start the Carriage at Low Speed: Start the carrier and run the breaker at low speed to heat the hydraulic oil.
- Check for Leaks and Anomalies: Check for leaks, unusual noises or vibrations at the first start-up, ensure proper impact.
- Evaluate Impact Performance: Monitor the frequency and strength of the pulse, making sure it runs smoothly while slowly increasing the speed.
Common Installation Mistakes to Avoid
Avoiding these common installation mistakes is essential to maximize the safety, performance and longevity of your equipment:
Incorrect Brackets or Mounting Pins: Using the wrong brackets or pins can compromise the structural integrity of the system, leading to instability and operational problems.
Incorrect Hydraulic Connections: Make sure that the hydraulic inlet and return lines are correctly connected and that there are no cross connections. Make sure that the system operates within the specified flow and pressure parameters, otherwise failure or damage may occur.
Oil Contamination and Worn Filters: Avoid oil contamination by using clean oil and regularly replacing worn filters. Contaminated oil can cause excessive wear on internal components, which can render the crusher unusable sooner.
Fasteners that do not pass: Failure to regularly check fasteners and tighten them to the recommended torque values can lead to premature mechanical failure and adversely affect performance and safety.
By avoiding these mistakes, it will be possible to ensure optimal performance and prolong the life of your equipment.
Optional Parts and Accessories
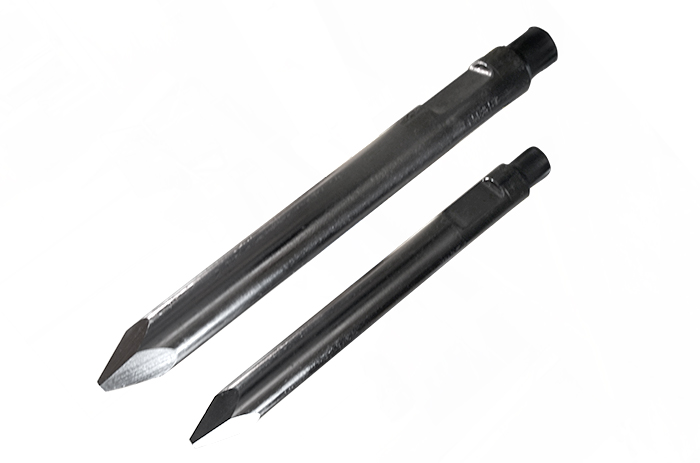
Beilite Crusher Breaker Bits
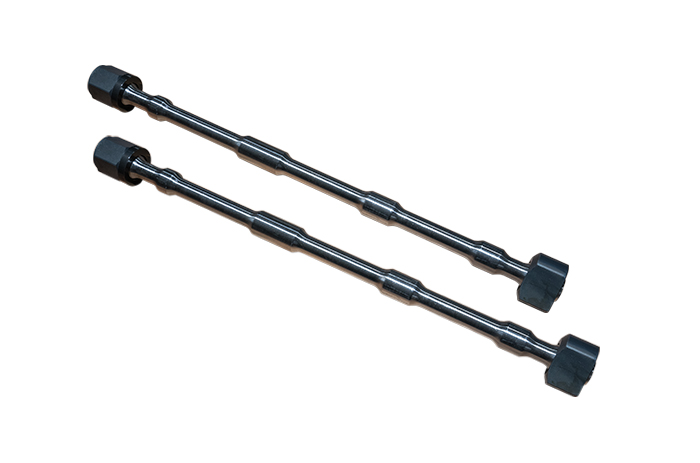
Beiite Breakers Through Bolt
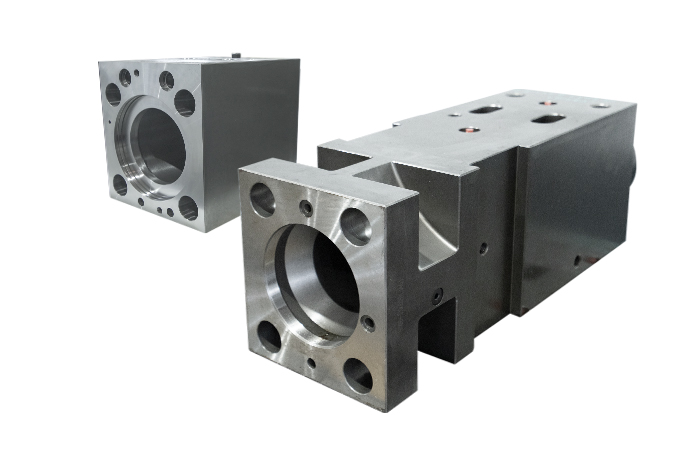
Beiite Breakers Heads
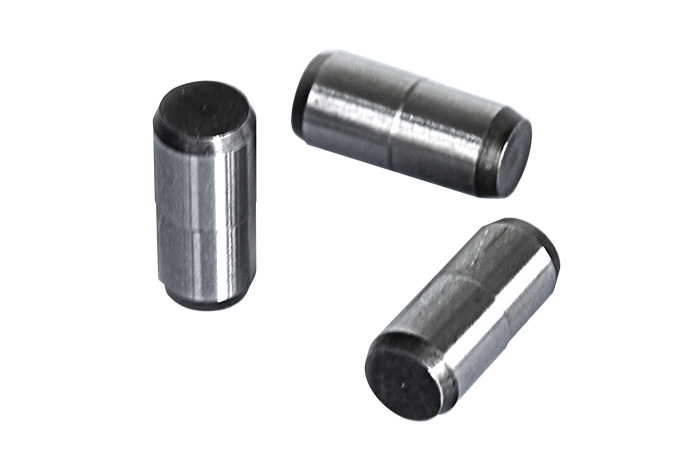
Beilite Breakers Rod Pins
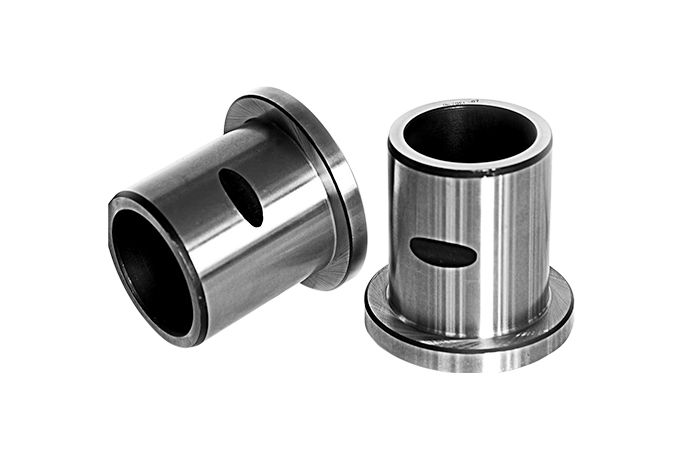
Beilite Breaker Seal Kits
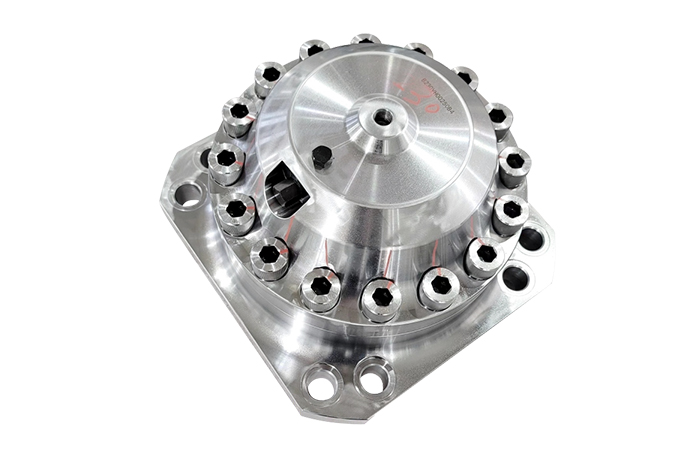
Beilite Crusher Accumulator
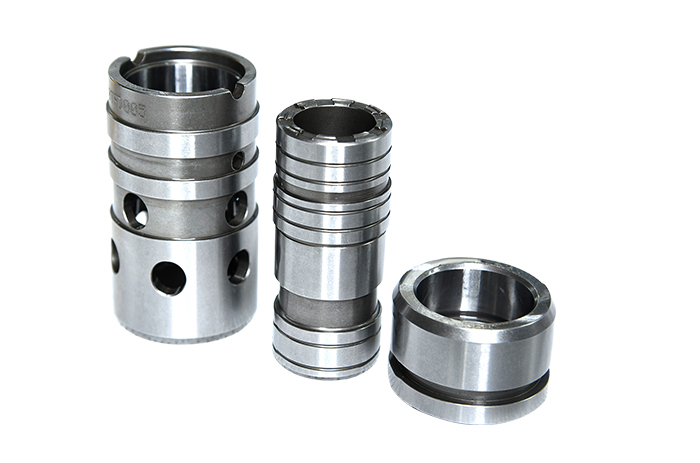
Beiite Breakers Reversing Valves
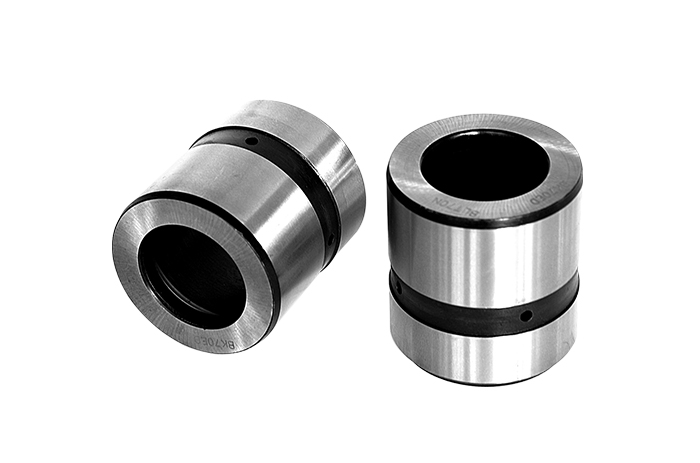
Beilite Breakers Bushes
Beilite Breakers Thrush Bushes

Beilite Breakers O-rings
Our Products
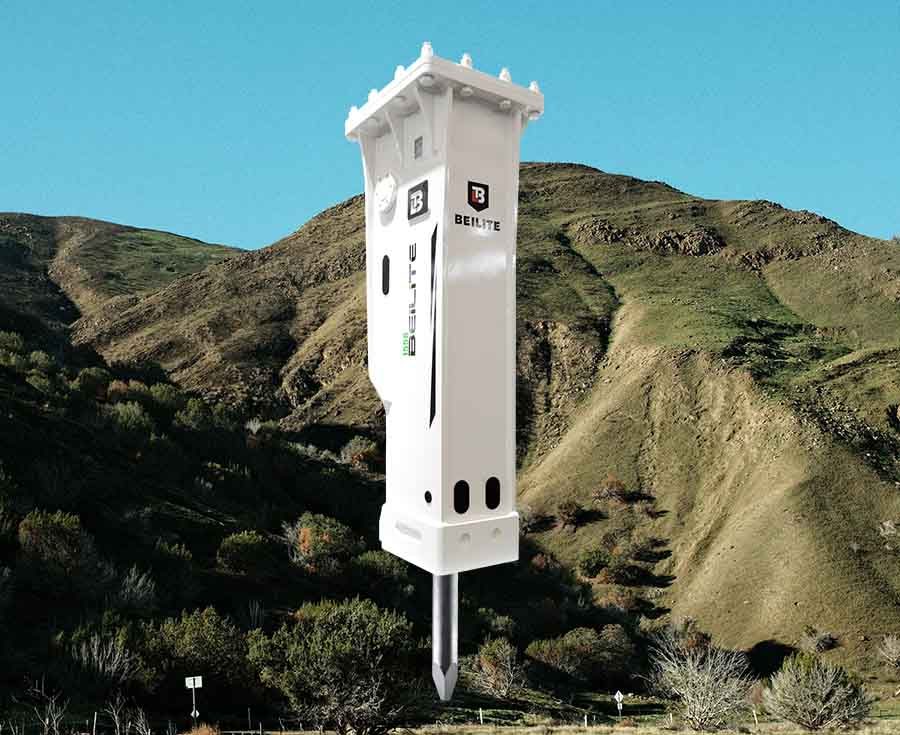
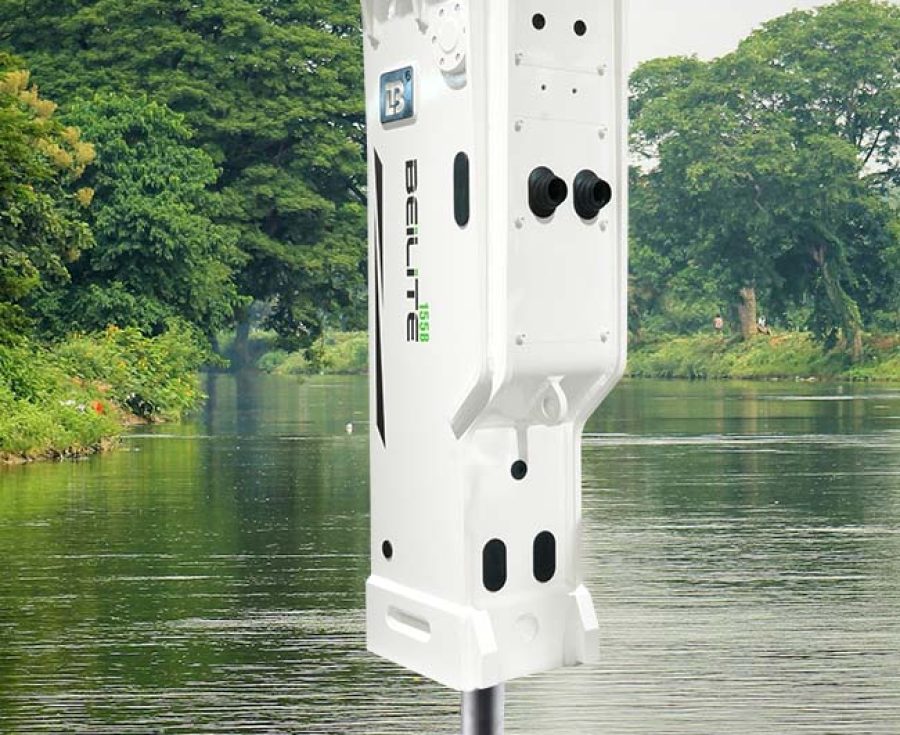

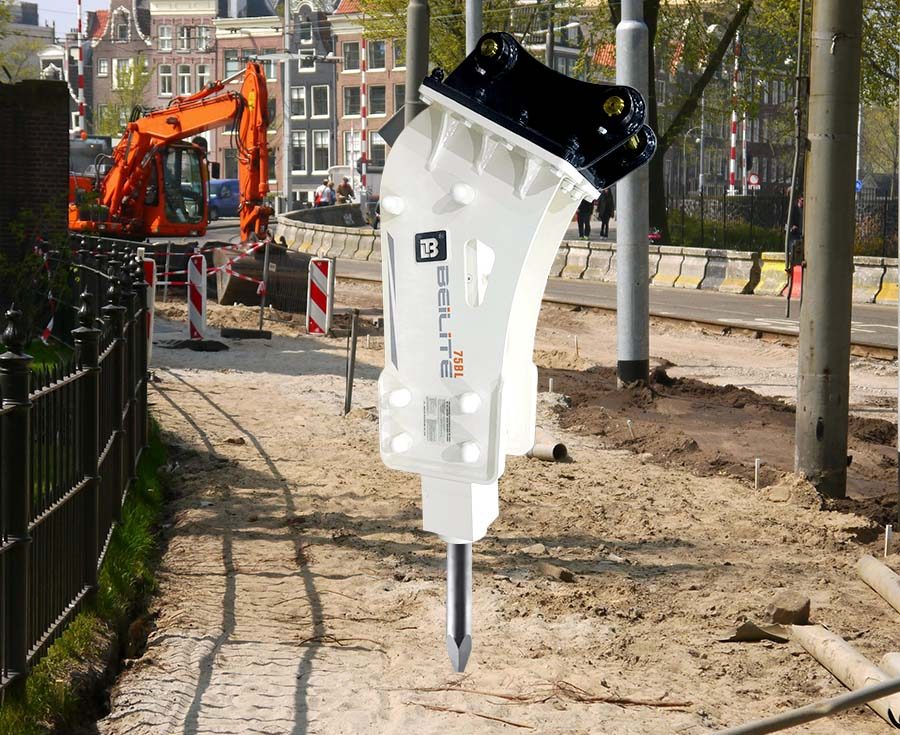
| Model | BLT-40 to BLT-100 | BLT-125 to BLT-175 | BLT-195 to BLT-280 |
|---|---|---|---|
| Crawler Excavator | 0.8 ~ 14 Tons | 18 ~ 45 Tons | 50 ~ 350 Tons |
| Wheeled Excavator | 0.8 ~ 14 Tons | 18 ~ 45 Tons | 50 ~ 350 Tons |
| Bucket Loader | 0.8 ~ 14 Tons | - | - |
| Crawler Loader | 0.8 ~ 14 Tons | - | - |
| Complex Pallet Loader | 0.8 ~ 14 Tons | - | - |
| Wheel Loader | 0.8 ~ 14 Tons | - | - |
| High Reach Demolition Rig | 0.5 ~ 14 Tons | 18 ~ 45 Tons | 50 ~ 350 Tons |
| Demolition Robot | 0.8 ~ 14 Tons | 14 ~ 18 Tons | - |
| Tractor | 0.8 ~ 14 Tons | - | - |
| Amphibious Excavator | 0.5 ~ 14 Tons | 18 ~ 45 Tons | 50 ~ 120 Tons |
| Pedestal Boom | 0.8 ~ 14 Tons | 18 ~ 45 Tons | 50 ~ 350 Tons |
| Drilling Jumbo | 0.5 ~ 14 Tons | 18 ~ 45 Tons | 50 Tons |
| Scaling Machine | 0.8 ~ 6 Tons | - | - |
| Twisted Tower Crane | - | - | - |
| Refractory Cleaning Machine | 4.5 ~ 14 Tons | 18 ~ 24 Tons | - |
+90 (532) 015 91 82
+90 (532) 155 50 93
+90 (542) 143 20 04
Email: [email protected]
FAQ (Frequently Asked Questions)
1. How do I correctly install a Beilite hydraulic breaker on an excavator?
Installation requires securely mounting the breaker to the excavator using the correct bracket and pins, and then connecting the hydraulic inlet and return hoses according to the specified flow direction. Ensuring that the carrier's hydraulic oil flow (L/min) and working pressure (bar) match the breaker specifications is crucial for safe operation and optimal performance.
2. What should be checked before operating the hydraulic breaker after installation?
Before operation, check all hydraulic connections for leaks, ensure that hoses are routed correctly and verify that mounting pins and bolts are securely tightened. Also, check the nitrogen gas pressure (if applicable) and apply sufficient grease to the insert and bushings to prevent premature wear and ensure proper operation.
3. Will improper installation affect hydraulic breaker performance?
Yes, improper installation can lead to hydraulic pressure imbalance, excessive vibration, oil leakage and reduced impact force. Incorrect hose connections or mismatched hydraulic settings can also cause internal damage and shorten service life. Following the correct installation procedures ensures maximum efficiency, safety and durability of both the breaker and excavator.
 Turkish
  English